Emergency Guides on Car Maintenance and Repair Work
John’s auto repair: Even if you aren’t an expert on cars, you can accomplish most basic maintenance and repair work on your own. Replace a worn distributor cap, for instance, to maintain the car’s electrical power. With a few basic tools, the fuel filter and air filter are also easy to swap out to ensure your car continues to run well. A basic toolkit and a workshop manual can get you far when it comes to the health of your car.
John’s auto repair
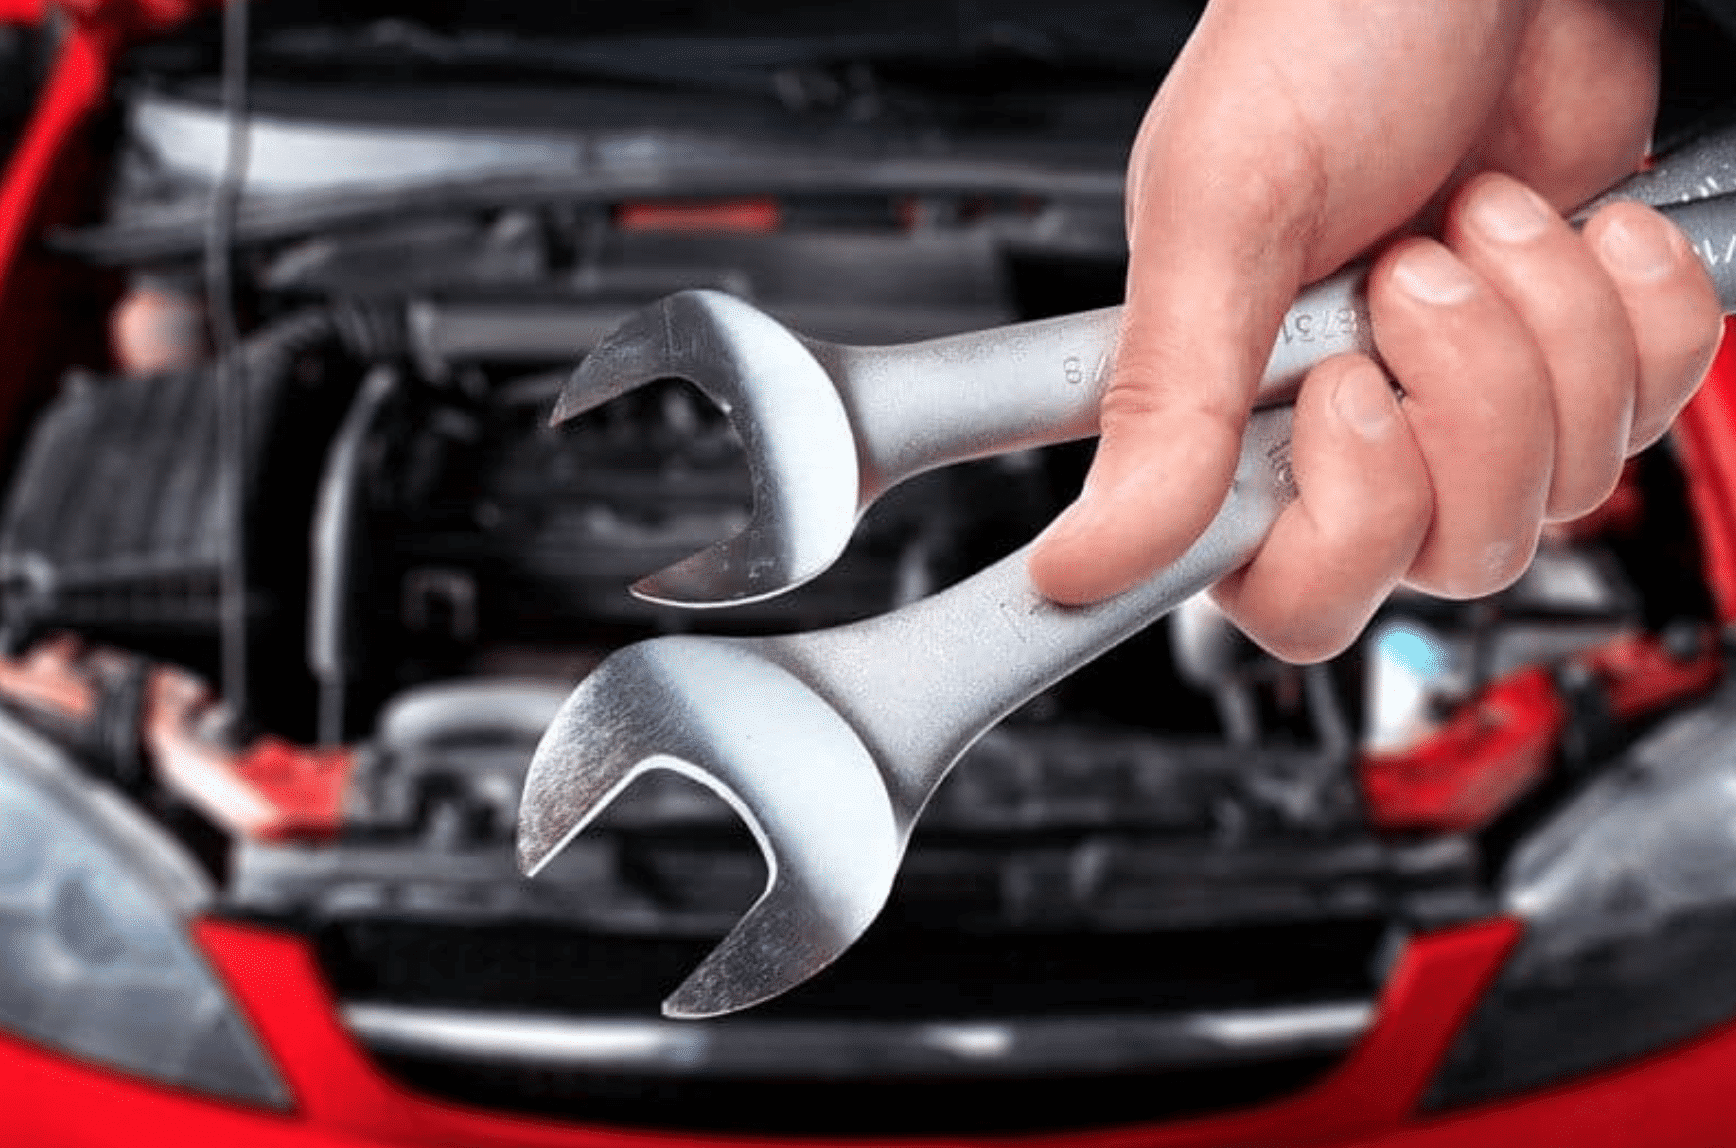
Purchase a comprehensive toolkit for basic car repairs. Nothing is more of a pain than being elbow-deep in grease and realizing you need a cheap tool you don’t have. Some back and forth is inevitable with car repairs, but gathering a few basic tools can prevent a lot of this. Socket wrenches, screwdrivers, wrenches, pliers, jacks, penetrating oil, and a rubber mallet are some tools that will help you get through most common issues.
- Keep in mind what repair you need to make. If you’re changing a fuse, for instance, you will need to buy a new fuse. If you’re changing the oil, you need an oil pan.
- Check with your local auto parts store to see what kind of tool rental program they have. These programs provide a way to borrow expensive tools without having to buy them.
John’s auto repair
Get an automobile manual to guide you through repairs. Haynes and Chilton are a couple of print manuals you may find useful. Even the pros use these manuals to perform repairs. They are beginner-friendly, unlike dealer service manuals. Get a manual specifically made for the car you are trying to repair.
- You can order a manual online or from most auto parts stores.
- Read the manual’s cover to find what make and model of car it is for. For instance, it will say something like “BMW 3-series 2008 through 2012.”
- You can also search online for manufacturer repair manuals. Type the make and model of your car followed by the words “repair manual.” These manuals may be a little more challenging to understand than the print manuals, so be cautious.
John’s auto repair
Search for repair videos and discussions online for assistance. Thanks to the Internet, car repair resources are very accessible. You will probably find quite a few videos of people going through the repair process, which can help you learn about parts and tools or figure out what steps you need to take to complete a repair.
- Many videos are made by amateur car enthusiasts. They may not have much experience or professional training. Make sure you reference videos with official resources like a repair manual.
Fill out and keep a maintenance record as you work on your car. Keep a list detailing the type of work done on the car, a description of what was done, and an indication of when the repair happened. Save any receipts for materials you buy. Dealers and warranty providers often require maintenance records, but keeping a record can also help you track your own work.
- You can purchase a printed maintenance card at an auto parts store or make your own in a notebook. Store the log in your car’s glove compartment so you always have it.
John’s auto repair
Take pictures of your car parts so you know how to put them back. Instructions like “replace the peripheral flange bracket” are useless to you if you can’t remember how the bracket came off. To make things easier, develop a system for your parts. Make notes or take a picture with a camera or your phone before you remove them. Then, as you set them aside, keep them ordered the same way you removed them.
- Try marking the parts with a tag or something like nail polish to indicate alignment.
- Store parts in a safe spot, such as in plastic bags on a workbench.
Inspect your car for routine maintenance every 3,000 mi (4,800 km). As long as you operate your car, you can expect it to require periodic fixes. Give your car a total inspection on occasion to look for any dirty or damaged components. Then, replace these as soon as possible to keep your car in working order.
- Check your owner’s manual for a recommended repair schedule. It will list how long each part lasts, but remember that these are only estimates. Frequent inspections are a more accurate way of determining when a car needs repairs.
- For example, oil and oil filters should be replaced about every 3,000 mi (4,800 km). Check batteries, fluids, and hoses at this point as well.
- Replace air filters about every 12,000 mi (19,000 km), along with components like power steering fluid. Inspect the brake pads, suspension, and similar components for damage.
- Most other components will last at least 35,000 mi (56,000 km). This includes the battery, spark plugs, fuses, and tires.
John’s auto repair
Perform maintenance on your car if you notice leaks or other problems. If something seems wrong, inspect it right away! Letting a problem go can lead to more extensive damage. Look and listen for issues while driving the vehicle. A rattling noise may be a sign of loose nuts or bolts while grinding can be the brake pads, for instance.
- The check engine light should not be taken lightly. If it comes on, inspect your car as soon as possible.
- Use your car’s symptoms to diagnose your car. If your car lacks power, you know it is likely an issue with the electrical system, such as a dead battery or blown fuse.
- Get a diagnostic reader to easily locate problems. Auto part store employees have these and will even rent them to you. You can also buy your own online.
Locate the distributor cap underneath the car’s hood. Open the hood and look for round, usually gray or black piece of plastic near the center of the engine compartment. The cap looks a little bit like a crown with thick, black cables connected to the spokes on top. These are the spark plug wires that power the engine.
- Refer to the owner’s manual if you need help locating the cap.
- If the cap or rotor look worn or cracked, they need to be replaced right away.
John’s auto repair
Loosen the clips or screws on the cap. Check the cap’s side to find out how it is connected to the vehicle. No matter what car you have, the cap will be relatively easy to remove. If it attaches with clips, pull the clips up to free the cap. If you see screws holding it in place, you will need a Phillips-Head screwdriver to turn them counterclockwise.
- Some distributor caps have neither clips nor screws. For this type of cap, push down on it and rotate it counterclockwise until it comes off.
- Avoid pulling the spark plug wires off the cap right away. These wires need to be attached to specific parts of the cap, so they have to be handled with caution or else they can overload the car’s electrical system.
Slide the rotor off of the distributor housing to replace it. The rotator will be right underneath the distributor cap in the engine compartment. It looks like a small fan blade. First, check it for screws. Most rotors aren’t bolted in place, so you can usually remove it with force alone. Wiggle the rotor back and forth until it comes off, then slide the new one firmly in place.
- If your rotor has a screw, the screw will be on the shaft, underneath the blade. Remove it carefully so it doesn’t fall into the engine.
- Spin the rotor by hand after you replace it to ensure it turns freely.
John’s auto repair
Move the spark plugs from the old cap to the new cap. Set the distributor caps down on a flat surface, orienting them so they look identical. For help, check the old cap. It should have a marking like “#1,” indicating the first spark plug. Start with the first spark plug, pull it off of the old cap, push it onto the corresponding spoke on the new cap, then repeat this with the remaining plugs.
- Work slowly and make sure the plugs attach to the proper spokes. If the plugs are out of order, you could end up causing electrical damage to your vehicle.
Replace the cap on the distributor assembly. Put the cap back in the engine compartment, making sure it is in the same position the old cap was in before you removed it. The spark plug cords need to be tucked neatly into the compartment, inspect them to ensure they aren’t coiled or bunched up at all. When you’re ready, secure the cap with any clips or screws you undid earlier.
- If the spark plugs are bent or otherwise obstructed, your car’s systems may not get adequate power.
Start the vehicle to see if it runs smoothly. Misfires or backfires are a sign that the cap and rotor aren’t positioned correctly. Shut down the car so you can take another look at them.
John’s auto repair
Locate the fuel filter near the fuel tank. There are 2 different places the fuel filter can be, so you may need to do a little searching. The most common location is underneath the car, right next to the fuel tank. In some vehicles, the fuel filter is in the engine compartment. Open the hood and see if you can spot it underneath the dashboard.
- The fuel filter is a round canister with 2 spokes sticking out the sides. The car’s fuel line hoses connect to the spokes. The canister itself is often black, gray, or orange.
- Refer to your owner’s manual! With it, you can pinpoint the filter’s location right away.
- A slow or stalled car may indicate a dirty fuel filter. Replace it to see if this brings your car back up to speed.
Remove the fuel pump fuse from the fuse box. Turn the car off and locate the fuse box underneath the engine’s hood. It looks like a big, rectangular case and is usually labeled. Pull off the top, then look at the diagram printed on it. It will tell you the location of the fuse you need, which you can remove simply by pulling it out of the box with pliers.
- Your car needs to be turned off to do this. The fuses conduct electricity, so never touch the box while your car is live.
John’s auto repair
Start the car’s engine to relieve pressure in the fuel line. Set the car in park to ensure it can’t move while you work on it. Then, loosen the gas cap and start the car. Let it run for about a minute to drive out the air in the line. Afterwards, turn off the car and replace the fuse.
- You only need to let the car run for 1 or 2 minutes. You should be able to hear the air hissing out from the gas cap near the back of the car.
Lift the car with a jack if the filter is underneath it. Use the owner’s manual to find the jack points, which are usually right behind the wheels. Pump the jack to raise the car, then slide jack stands underneath it for additional security.
- For safety, park the car on a hard, flat surface before lifting it.
- The jack stands catch the car in case something happens to the jack. Always place a stand next to a jack to reduce the risk of accidents.
Place a container underneath the filter to catch leaking fluid. Any fuel left in the line will leak out as soon as you detach it from the filter. Keep a bowl, bucket, or another container on hand. You may also benefit from wearing gloves to keep the gasoline off of your hands.
- The fuel needs to be kept in a separate container from other fluids like oil. When you’re done with it, drop it off at a recycling location. Most mechanic shops accept fuel for recycling.
John’s auto repair
Unscrew the fuel line bolts from the fuel filter. The bolts hold the fuel lines secure to the filter. If your filter has them, they will be right where the lines connect to the filter’s spokes. Turn the bolts counterclockwise to remove them. Then, pull the lines until they pop off the filter.
- Some fuel filters use clips instead of bolts, which you can undo by pulling on them with your fingers.
- If the fuel lines are hard to remove, try twisting them off with a wrench.
Replace the filter and connect it to the fuel lines. Take off the old filter, then slide the other one into the bracket hanging from the car. Make sure you position the new filter the same way the old one was. Then, push the fuel lines onto the filter’s spokes and replace any bolts or clips used to hold them in place.
- To help you install them correctly, most filters have flow lines printed on them. Use the lines to orient the old and new filter before swapping them. The flow line should point towards the car’s engine.
Start the car’s engine and check for leaks. Lower the car down off the jacks, also remembering to return the fuel pump fuse to the fuse box if you haven’t already. Let the car run for a minute, then check underneath it. If you see leaking fuel, stop the car. Check the fuel lines and filter to make sure they are correctly positioned and tightly connected.
John’s auto repair
Locate the air filter case beneath the hood. The air filter will be a large black case in the engine compartment. It’s usually on the left side of the compartment, right behind the car’s lights. The case will be labeled with an emblem that resembles an arrow passing through a screen.
- The filter is typically pretty easy to find, but refer to the owner’s manual if you need help tracking it down.
Unscrew the case to access the air filter. Look around the rim of the case to find out what holds it in place. Depending on your car, expect to see about 3 screws or clips. If your filter case has screws on it, get a hex-head screwdriver and twist the screws counterclockwise to remove them.
- For clips, simply pull them back to release the cover.
Lift the filter out of the casing. The filter is the only thing in the casing, so you can’t miss it. It’s the plastic rectangle with the strips of typically white filter material inside it. Depending on your filter, it may be red or orange. All you have to do is grasp the plastic edge and lift it to pop it out of the vehicle.
- An old filter will look dirty. If you try to shine a light through the filter material, you won’t be able to see it on the other side. Replace the filter when this happens to keep harmful debris out of your car.
John’s auto repair
Install the new filter after wiping down the chamber. Get a clean rag and carefully wipe up any dirt left underneath the filter. Try to prevent it from falling further down into the filter compartment. Then, lay the new filter in place. The end with the exposed filter material should hang down into the compartment.
- Use your old filter as reference for the new one. Check how it was placed in the compartment so you know exactly how to fit the new one.
Replace the case cover and screws. Fit the case cover back together, then begin securing it in place. If your case has clips, snap them back in place. For screws, place the screws back in the holes on the case’s edges, then turn them clockwise to tighten them.
- You won’t need to test the filter to see if it is working. As long as it fits securely in the chamber, it will work.
John’s auto repair
More tips
-
What repairs you’re able to do on your own really comes to the tools you have available, your motivation, and your confidence.
-
Grinding, squeaking, and rattling sounds are often indications that you need to repair your car. Also, check your car when you feel unusual vibrations.
-
Speak with professional car mechanics or other repair enthusiasts when you can. They can give you tips on how to fix various problems.
- Study up on car systems. Go to the library or bookstore and get some books explaining how every car part operates.
- Protect your hands. Use gloves when working and wash your cars when you’re finished. You will get dirty while working and grease can be difficult to remove.
- Use your eyes. Besides your ears, which you can use to listen for signs that your car has an issue, your eyes are the most important diagnostic tool.
Things You’ll Need
Replacing a Distributor Cap and Rotor
- New distributor cap
- New distributor rotor
- Phillips-Head screwdriver
Installing a New Fuel Filter
- Needle-nose pliers
- Car jacks
- Jack stand
- New oil filter
- Drip pan or container
Replacing an Air Filter
- New filter
- Hex-head screwdriver
- Clean rag
John’s auto repair
Conclusion
-
Exercise care when working around hot car parts, including oil and cooling systems, to avoid scalding injuries.
-
Going under a car can be dangerous. Always use stable jacks on a flat surface. Make sure the car is secure before you start working.
-
Avoid working under a car without using a jack that has a jack stand. The stand can protect you if something goes wrong with the jack.
Get expert advice on becoming a successful business owner with BusinessHAB Business category! Our step-by-step articles can help you navigate the ins and outs of the business world, from forming a public limited company (PLC) to measuring company growth of an existing company. Learn how to avoid unionization of a company, identify industry trends, implement efficiency strategies, and more! You can request publication of your article for publication by sending it to us via our Email below. wikitk126@gmail.com or SMS/WhatsApp) or call +2347034920650