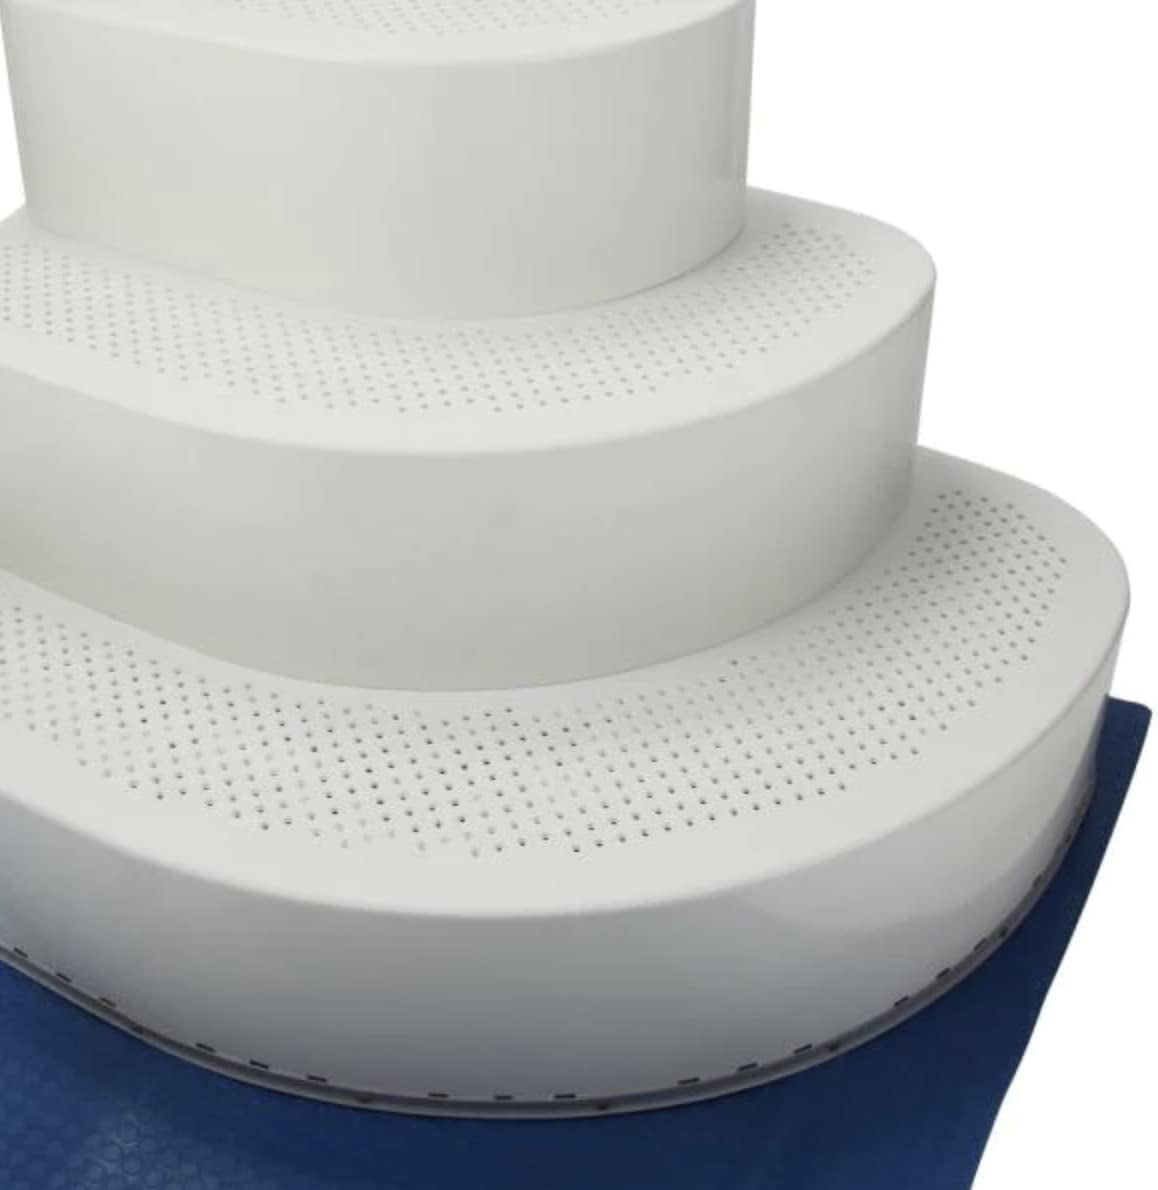
How To Build A Wedding Cake Pool: The Simplest, Easiest Recipe
Wedding cake pool steps: Planning your wedding and trying to think of creative ways to incorporate everyone you love into the ceremony, reception and honeymoon is no small feat. Especially if you’re on a budget and want to keep things as inexpensive as possible.
A poolside wedding is one of the most popular and stress-free ways for couples to save money on their big day. Not only does this type of wedding spare you from renting an expensive reception hall and catering services for your guests, it also enables you to have your very own in-house caterer: yourself!
The advantages don’t stop there: if you’ve got friends or family members who are also willing to get married at the same time — why not take things one step further by turning it into an entire poolside wedding week? That way, you not only save even more cash but get to relax, celebrate and bask in wedded bliss with all your loved ones under the same roof.
You have to be burning with an idea, or a problem, or a wrong that you want to right. If you’re not passionate enough from the start, you can request publication of your article for publication by sending it to us via our Email below. or call +2347034920650. Click here to start business now with businesshab.com
businesshabblog@gmail.com
How To Build A Wedding Cake Pool: The Simplest, Easiest Recipe
Wedding cake pool steps: In the world of wedding-cake construction, a single tier stands out as the most challenging: the bottom layer. It’s also the one that guests will see first and likely spend the least amount of time pondering, until they spy its trappy, tottery counterpart on the opposite end of their table. A traditional wedding cake is typically built in three tiers, and while we’ve covered all things top hat, veil, and sash in a previous post about building a wedding cake , today we’ll focus on the base layer. That’s because building a stable base is essential to creating a balanced structure that won’t topple over or sink into its own frosting when you place it on your final tier.
The key to a stable base is all in the frosting
The bottom tier is the most visible and structurally important layer of a wedding cake. If it falls, the entire cake topples. There are ways to prevent that from happening — like building a small, sturdy pedestal or platform — but the best way to ensure stability is to give that base layer plenty of frosting, which acts as a sort of cement. But how much is enough? The answer depends on how you build that base tier and what kind of frosting you use. For the best stability, you want enough frosting to fill any gaps between the bottom of the cake and the serving plate and to act like glue between the bottom of the cake and the cake board. The traditional method for building a base tier calls for a crumb coat — a thick, sticky layer of frosting that you let sit until it dries. Then you apply another coat of frosting. The thicker the crumb coat and second layer of frosting, the more stable the cake. The other way to build a stable base is to use a hybrid method that incorporates either a traditional buttercream or Swiss meringue buttercream with a fondant top layer. The dense, thick frosting acts like a glue between the base and serving plate and the cake board.
A note on angles: Why they’re important and how to measure them
To maximize stability, you want your base tier to be at a slight angle, with the top of the cake raised about 1/2” above the level of the serving plate. When you measure that distance — from the bottom edge of the cake to the plate — make sure you use a ruler that’s perpendicular to the cake’s surface and not at an angle. Otherwise, your measurements may be off. When you’re determining the angle at which to build your cake, you have a few options. If you’re building your cake on a turntable, it’s easy to rotate it and evaluate from all sides. If you don’t have access to a turntable, you can build your cake on a piece of cardboard to check the angle from all sides. Or you can use a protractor to measure the angle of the bottom of the cake and the level of the serving plate.
Bottom tier perfection: How to build it
When it comes to building a bottom tier, perfection is overrated. You don’t need to match the frosting’s thickness with that of your first or top layer or worry about shaping the base perfectly. In fact, like many things in life, less is more. If you have nice, thick, even layers of cake, they’ll be plenty stable. So don’t sweat it if your layers aren’t exactly uniform in shape or thickness. Here’s what you do need to do: To build a stable base, start by frosting the bottom of your cake. You’ll need enough frosting to fill in the gaps between the cake’s surface and the serving plate and to act like glue between the cake and the cake board. Then build your first layer. Next, add a crumb coat and let it dry. Then, add a second layer of frosting. Finally, build your second layer.
Know your strengths and weaknesses
We all have strengths and weaknesses. When it comes to building a wedding cake, it’s important to know what you’re best at. Since a bottom tier is visible to your guests and other wedding-cake builders, you’ll want it to look good. So build that one first. Looser, less meticulous tiers are easier to build, so if you tend to be a bit of a perfectionist, start with the top or middle layers. Depending on your preferred construction method, those tiers may be less visible, so you can have a few wobblers or uneven layers without anyone noticing.
Build a small, sturdy pedestal
Some people opt not to build a small, sturdy pedestal at all, which can lead to precarious situations down the line. There are ways to minimize the risk, but if you’re in a high-risk situation — like, you’re baking at a venue with a really high table — build a small, sturdy pedestal. If you’re using a sheet cake, build the pedestal by cutting out a piece of cake that’s larger than the base of your cake and frosting the sides. It should be sturdy enough to support the base tier of your cake. If you’re using a single-tier cake, you can use the same method. If your cake is sitting on a board, you can also cut a small piece of wood that measures about 1/2” higher than your cake and place it under the cake to help support it.
Build a small, sturdy platform
Wedding cake pool steps: A platform is what you build the rest of your tiers on top of, like a small, sturdy layer cake. If you’re using a multi-tiered cake stand or a table with a high top, make sure the surface is sturdy enough to support the cake. If not, build a small, sturdy platform to rest the bottom tier of your cake on. If you’re using a multi-tiered cake stand, you can add a small layer of frosting to the bottom tier of your cake to help adhere it to the stand. If you don’t have a cake stand, you can use a piece of cardboard to create a platform. If you’re building on a table, you can place a piece of cardboard under the bottom tier, or you can cut a hole in the tablecloth to fit the bottom tier.
Cut corners where you can
Wedding-cake building isn’t like baking a muffin; there’s no such thing as a perfect cake. So don’t stress out about having perfectly matching tiers. If you’re baking a single-tier cake, you can always cut off uneven edges and make them even. You can also cut your bottom tier in half, drop a piece in the middle of your serving plate, and then build your middle tier on top of that. If you’re using a hybrid frosting method, you can also cut corners when building your bottom tier by using less frosting than you would for a traditional buttercream and skipping the crumb coat. If you’re building a single-tier cake and want it to look more like a traditional tiered cake, you can also bake two single-layer cakes, stack them, and frost them together.
Build small and sturdy layers. Don’t be afraid to cut corners!
Wedding cake pool steps: If you’ve followed all these tips and built a sturdy, stable base tier, you should have no problem achieving a lovely, towering wedding cake — even if it doesn’t look exactly like the one in your head. There are always ways to make improvements and adjustments to your design. The important thing is to start with a strong, stable base so you can build on top of it.